Okay, so I harvested my garlic about a month ago. Curing only takes about 2-3 weeks, so my garlic is sure to be well cured by now. Now it’s time for braiding! One quick note before we begin. I learned a lesson about curing garlic this year. In past years, I have always hung my garlic on string to cure. This year, since I harvested so many heads of garlic, I cured my garlic on old screen door on a couple of sawhorses. Here’s why hanging them works better.
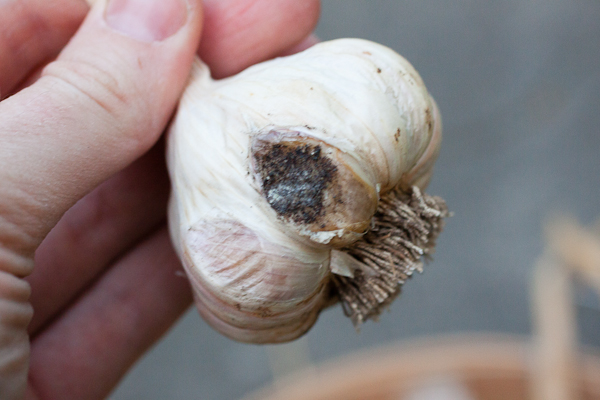
A few heads had rotten spots on one side and I am attributing that to lack of airflow on the side that was resting on the screen door. It was only on a few heads, so maybe it was worth the time it saved stringing up each head, but just something to note.

I select my largest heads of garlic for replanting and for braiding. I have already set aside my bulbs that I will replant, so the rest are for braiding. I started with 13 heads, but I suppose you could do more (I’m thinking your braid would just be thicker due to more stems).
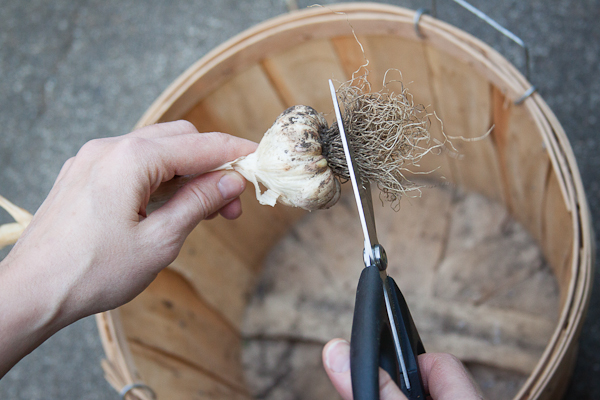
I begin by cutting off the roots. I do this regardless of if I am braiding it or not.
I then brush off the dried dirt. I am not too particular about getting all the dirt off, as I would rather preserve the skin (and therefore allow the garlic to keep longer) than get all the dirt off. Especially since the skin comes off when you peel the garlic later anyway.

Wet down two towels and sandwich the stems of the garlic between the two wet towels for 15-30 minutes to soften up the necks, so they are pliable for braiding.
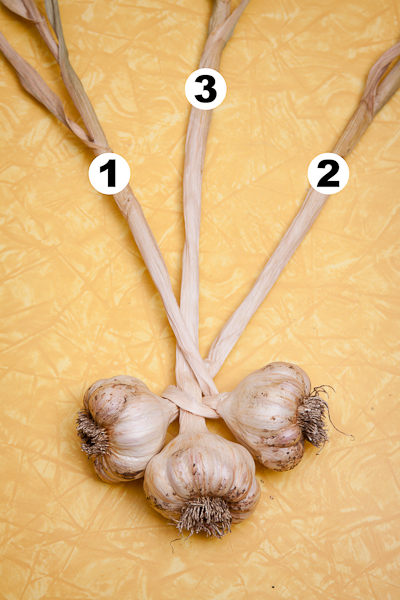
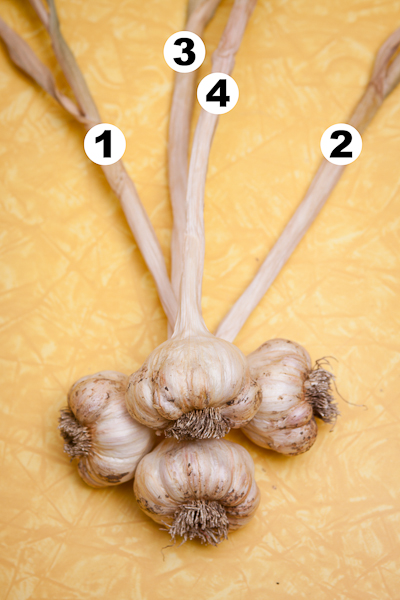
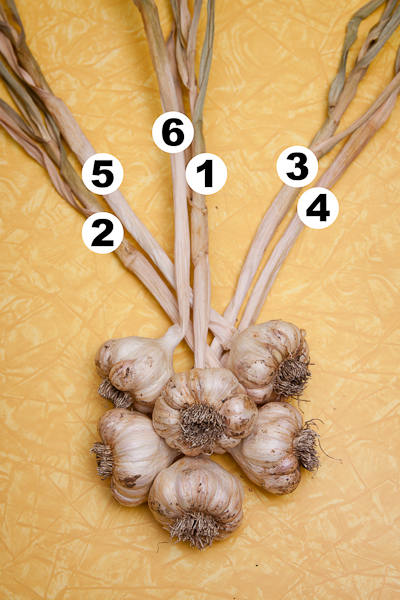
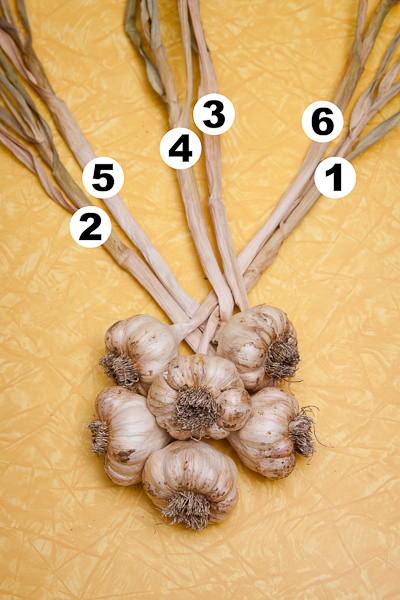
The below diagrams are adapted from http://www.bloomingfieldsfarm.com/garbrdhow.html
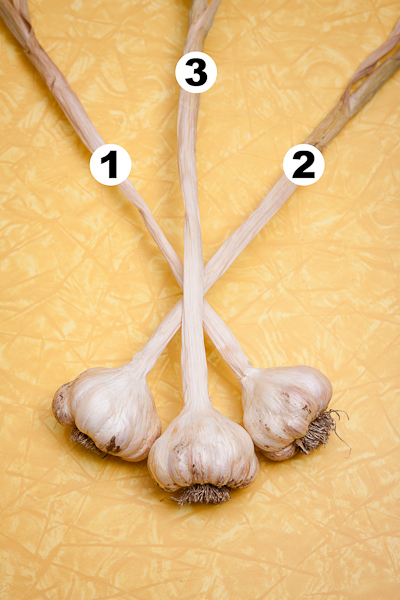
I’ve numbered the stems as well, since that is the only way this makes sense.
Stem 1 goes at the bottom, with stem 3 on top and in the middle.
Stem 1 then wraps down between stem 3 and 2 and then under itself and back up.
Set the 4th head in the middle with it’s stem on top of stem 3.
Bring stem 2 over, so that is crosses over stem 4, and then becomes the new middle along with stem 3.
Set the 5th head to the right of the middle and position it’s stem next to stem 2.
Bring stem 1 over, so that it crosses over stems 2 and 5, and then becomes the new middle. Stems 2 and 5 are now a pair and will move together and so will stems 3 and 4.
Add a 6th head to the middle and align it’s stem with stem 1. Stems 6 and 1 are now a pair and will move together.
Cross stems 3 and 4 over stems 6 and 1, so that they become the new middle.
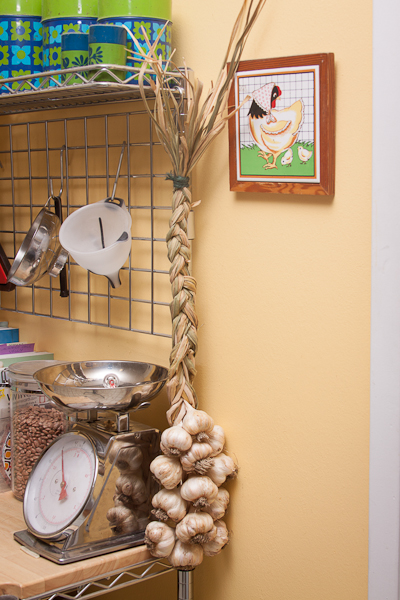
Keep adding heads in this way; middle, right, left, always folding the lowest strand over the middle strand to secure it, until you are out of heads. Then just braid the strands the rest of the way up and tie with twine.
I leave a loop on the back too, so I can hang it.
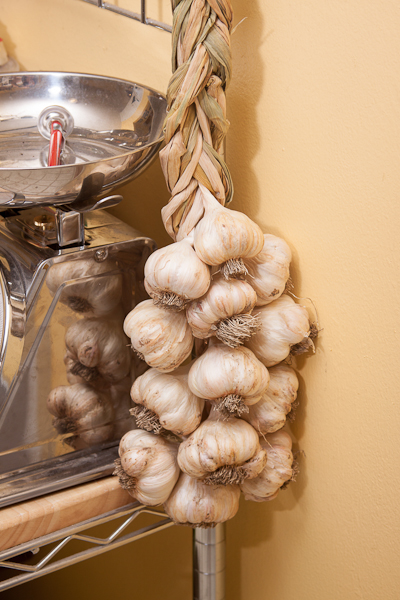
I hang it on a hook on my baker’s rack and then just clip heads off it as needed.





This is so awesome! We have a huge garden space at my house and this really makes me want to try growing garlic. That’s one of those things that you ALWAYS need around the house!