One of my goals for 2013 was to make cheese. I am lactose intolerant, but have found that I can eat sheep and goat cheese. I have wanted to make my own cheese ever since reading about author, Barbara Kingsolver’s, own lactose intolerance and cheesemaking in Animal, Vegetable, Miracle: A Year of Food Life.
Exciting stuff, huh? Well, you try not eating cheese for years and you may think it’s pretty exciting too. Unless you are vegan and then you just have more willpower than me. Also, I like the flavor of goat cheese. Some people don’t. Even some other lactose intolerant people I know don’t like it. So they may not be as excited about this option as me either.
A friend of mine (and reader of Rake and Make), saw my post on 2013 goals and as a “birthday” gift to Rake and Make, he bought me the supplies for making chèvre and said “Now you can cross cheesemaking off your list”! How sweet is that? And not only, did he get me the supplies, he got the goat milk from an actual goat farm called St. John Creamery in Lake Stevens, WA! He was going there anyway, because he wanted to (and did) make his own goat cheese, but it was still amazingly nice of him to do. Whew, that was a long-winded way to say thank you, but THANK YOU JULIAN! You rule, because the cheese was SO good!
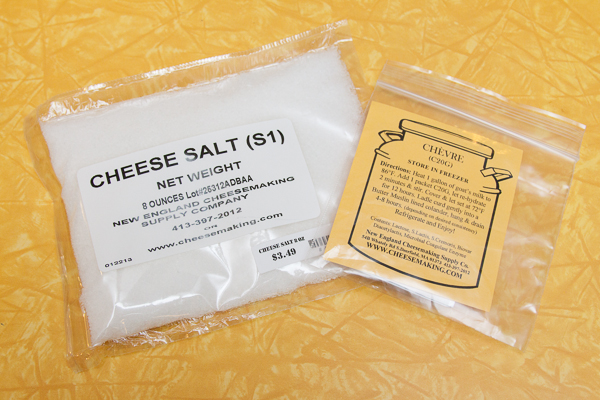
I did have to buy a couple of things from my local homebrew store, Sound Homebrew Supply, that also sells cheesemaking supplies, like cheese mats, cheese salt and calcium chloride (which it turned out I didn’t need, but it was on my list, so I bought it). I also picked up a book on cheesemaking, since I love books and having something for reference. The book I bought was Home Cheese Making: Recipes for 75 Homemade Cheeses
by Ricki Carroll. She’s the owner of the New England Cheesemaking Supply Company, which seems to make most of the supplies I’ve seen around so far.
There are many different types of cheeses that can be made from goat milk; feta, cheddar, ricotta, mozzarella. Pretty much any cheese that can be made from cow’s milk, can be made from goat’s milk. Awesome news for me. Goat Cheese Making: Making Homemade Chèvre is just the French word for “goat”, so I guess it is just the basic goat cheese to start out with!
Making chèvre is so easy! Detailed instructions for making chèvre can be found on cheesemaking.com. Flower came over to help me make it, which was basically just her watching me wait for the milk to come to temp so I could add the chèvre culture. Home Cheese Making is great because there is a little icon next to each recipe that shows the recommended method for heating the milk. I used the indirect heating or water bath method. The milk needs to reach 86 degrees for this recipe, so the idea is to fill a sink, or bowl, full of hot water (about 10 degrees higher than the temp you want the milk) and let the heat from the water gradually and evenly heat the milk. This worked pretty well, I guess, but was kind of like watching paint dry.
I then drained the sink, so the milk wouldn’t continue to heat, then sprinkled in the chèvre culture evenly across the top of the warmed milk. I waited a couple of minutes for the powder to rehydrate, so as not to form clumps, and then stirred it in. The chèvre culture came with two packets, but I only needed one per gallon of milk (which was how much I had), so I have one left (stored in the freezer as per the instructions on the package) for my next batch!
That’s it! That was day one. All I had to after that, was cover it and then let it sit at room temperature for the next 12 hours. So if anyone ever says they want to come “help you make goat cheese”. make sure they realize it’s gonna be more like a “book club” night than actually making goat cheese.
The next day I had to work, but I knew I had to drain the curds and put them in forms, so I got up early just to do that. Julian said that curdled goat cheese is basically just goat cheese yogurt, so I tried a little taste. Then I remembered that I hate yogurt. So much so, that if someone is standing next to me eating it (which is all the time at my work), I feel like I want to vomit. Julian was right about the taste, but I won’t be making any goat cheese yogurt any time soon. Blech.
The cheesecloth Julian gave me says “Butter Muslin” on it and then it says “fine cheesecloth” in smaller letters on the label. I like the first name, because it has the word “butter” in it, so I will stick with that name. Sterilization is important in cheesemaking, so I boiled the cheesecloth and then lined a colander with it for straining.
Julian had already made his goat cheese and said that he cut the curds with a knife into smaller chunks, but mine wasn’t really doing that. I tried scooping out the curds with a slotted spoon, but that was so time-consuming and I had to get to work. In the end I just dumped the whole lot of curds and whey into the strainer and hoped for the best!
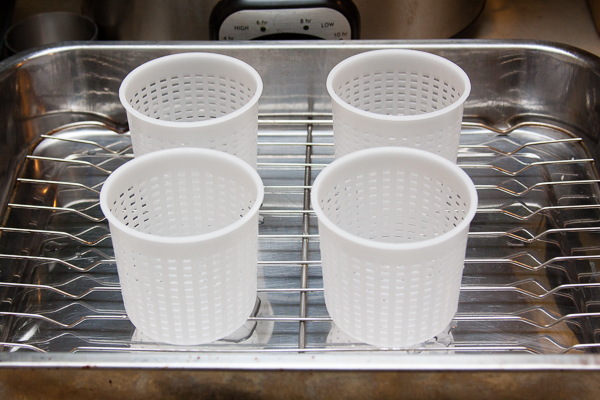
Meanwhile I boiled the forms in boiling water and set them in a turkey roaster for draining (again Julian’s tip).
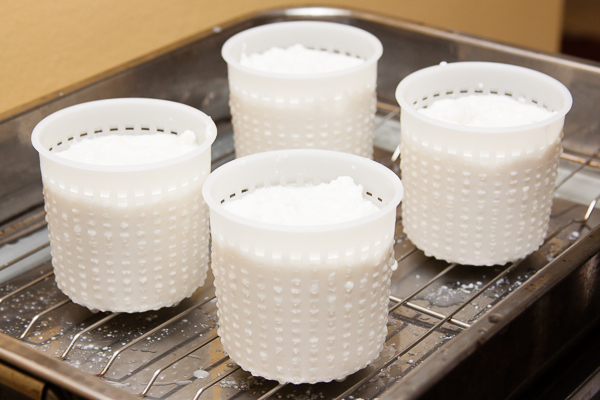
I picked the cheesecloth up out of the colander and squeezed as much excess whey out as I could before evenly dividing the curds in the forms. I could have just filled the form halfway, added a layer of herbs or spices and then added the other half, but I just did mine plain this go around. You are supposed to wait a couple of hours and then salt the top, but I had to go to work, so I wasn’t able to salt it until I got home.
Then I went to work, where I proceeded to announce, all day long, that I needed to get home to my cheese! This seemed to confuse my co-workers, because my cat is named Cheese. And if they didn’t know that, they probably just thought I was being weird. I needed to get home so could flip the cheese and salt the other side!
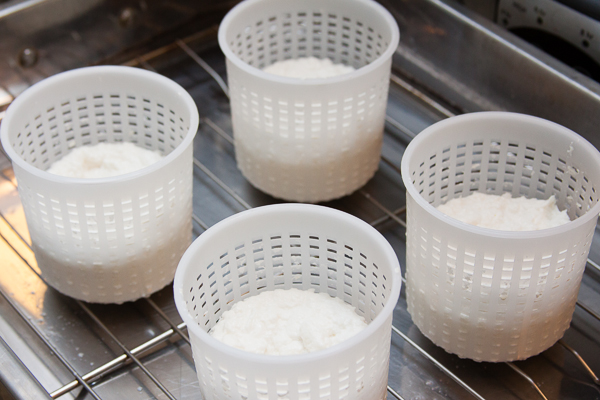
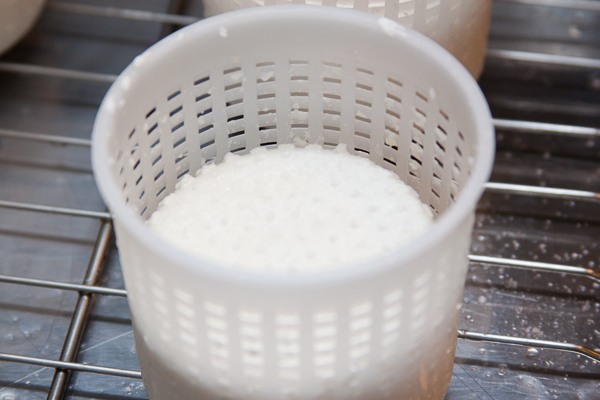
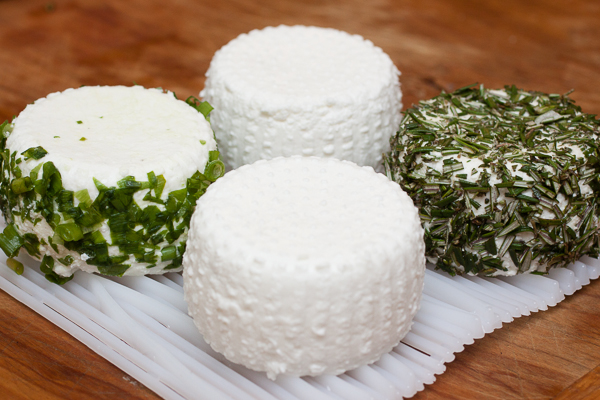
I left two wheels plain, rolled one in green onion and the other in rosemary. This may seem like a lot of cheese, but we plowed through it. Which is good, because since it was made with raw goat milk, it only keeps for about 10 days. I brought the onion one to dinner at Flower and Val’s and it was so tasty! I brought a plain one to work with a jar of my pepper jelly and it was gone by lunchtime. The other plain one we used for my favorite salad; goat cheese, beets (from my garden, I had one can left), candied walnuts and spinach. The rosemary one was probably my favorite though and since it got eaten last, the flavors really had time to marry.
I love that making this cheese was so easy and that they are like blank canvases to add flavors to. I plan on making this cheese again and experimenting with other flavors, like blueberries and figs, when they are season. I just might have to take a trip out to St. John Creamery next time, to get the milk and see the baby goats! They also offer delivery with a minimum of 10 gallons per area. Anyone want to order some goat milk with me?

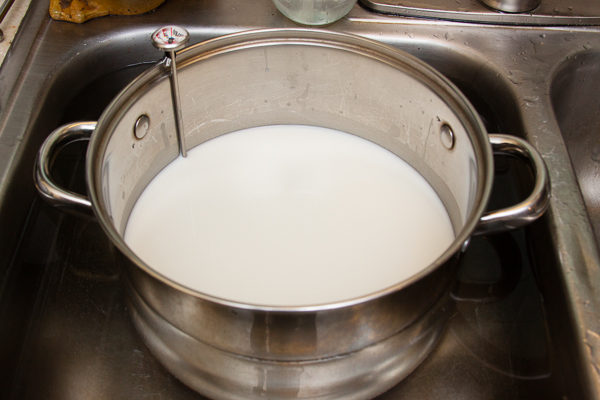
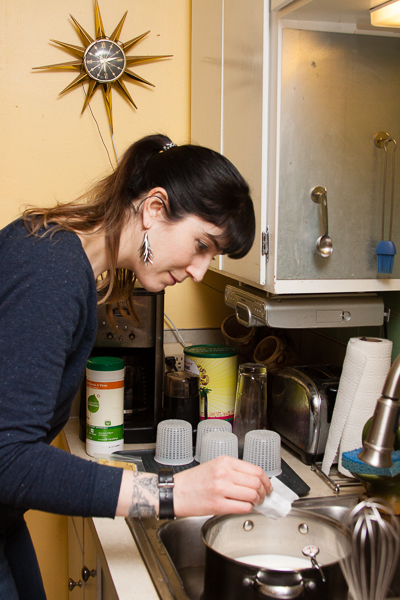

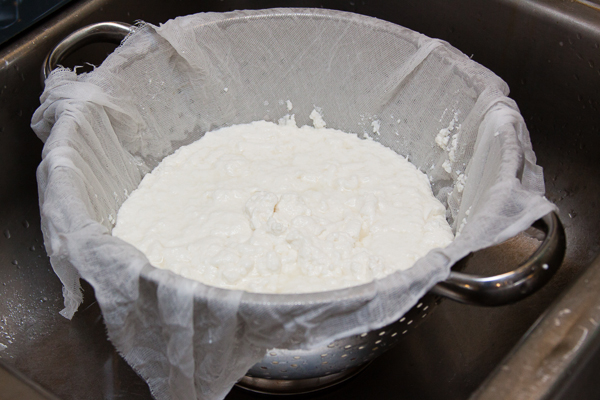
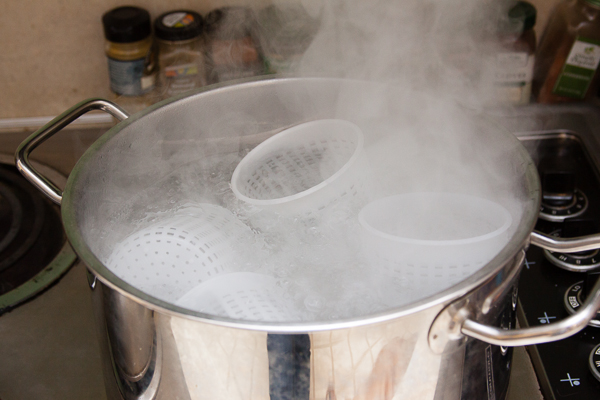
I can say from first hand experience…this cheese was so good! And super easy to make! You just have to drink wine and watch! Ha!
So great! Looks lovely! Ahhh, watching the paint dry-it is a lost art 🙂
Hi Lilly! I don’t know if you remember me from Saturday, but we chatted briefly about your your chickens. I looked through your blog for past photos and stories of what it’s been like to have the chickens and I think it’s so awesome that you’re raising them in Seattle. This cheese also looks AMAZING!
Of course I remember you! I just checked out your blog too and I LOVE it! Your content is right up my alley and you take beautiful photos. As for the chickens, I guess I haven’t written about them too much aside from Chicken Shit Bingo. When they were chicks, I hadn’t started this blog yet, and that is kind of the most interesting time. They are six years old now and still laying. Someday I will have to decide if they will just become pets that don’t make food or go to a chicken retirement home or what. I’ve been meaning to write about that for awhile, but it’s not as pleasant a topic as cute, fluffy, baby chicks!
I love your list of goals for the year – and the cheese looks amazing 🙂