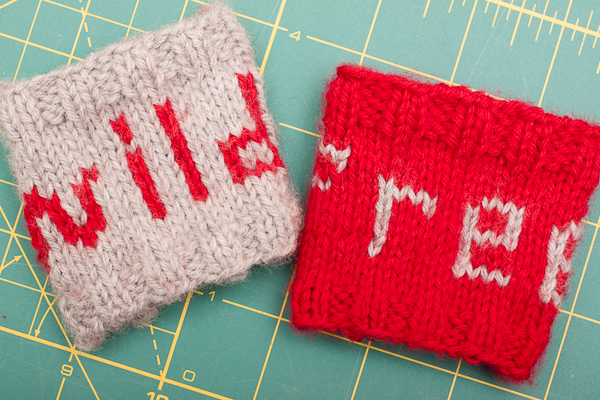
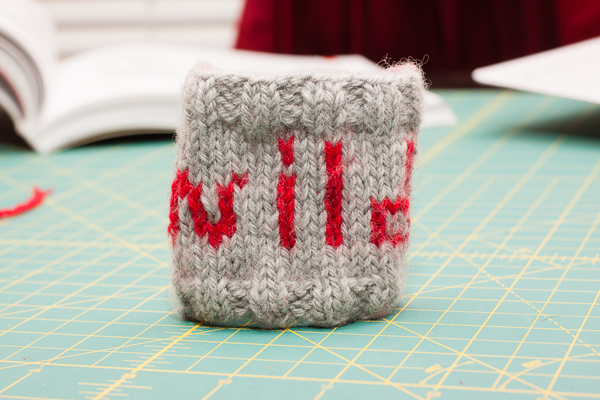
My second knitting project ever! These were actually belated Christmas presents for some girlfriends of mine that have lovingly become known as “wild and free” (vs. “tamed and tied down” like the rest of us). Meaning, they’re spontaneous and do cool shit like go to France on a whim, sip tequila in fake eyelashes and have impromptu dance parties. They’re a little like Patsy and Edina, except they’re both totally functional and have successful careers.
I saw a pattern in Stitch ‘n Bitch: The Knitter’s Handbook for a wristband that said “GEEK”. It said you could easily make them say anything you wanted them to, by making a graph. So I thought wristbands that said WILD and FREE would make great handmade gifts for my “wild and free” gal pals. It would also be the perfect second project since it was all stitches I had tried already (ribbed and stockinette).
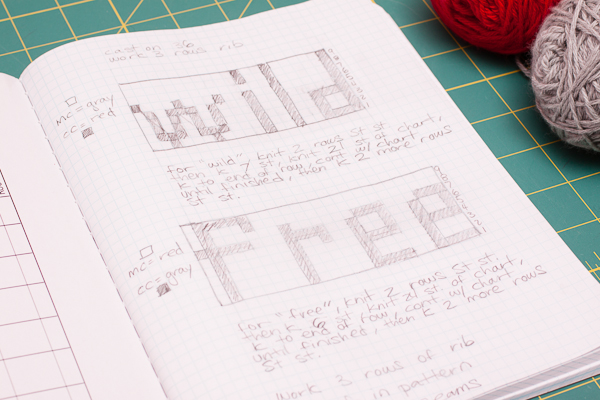
I took a sheet of graph paper and shaded in squares to form the words WILD and FREE. Each shaded in square would represent a stitch where I would knit with a contrasting color of yarn.
The first one I made, I cast on 34 stiches, which was what the book said to do for a medium sized wristband. It also said to knit two strands of yarn together, which I totally didn’t notice at first, so the first wristband I made is a little smaller than I would have liked. I also bound it off to tightly, so it had to be super stretched to fit it over my wrist. Not ideal, but lesson learned.
Since the idea of knitting with two strands together seemed totally confusing and intimidating, for the next one I cast on 36 stitches and bound off way looser and that seemed to help it get over the hand a little better. If someone reading this has tips on knitting with two strands together I would love to hear them, but for this time I didn’t try to learn it.
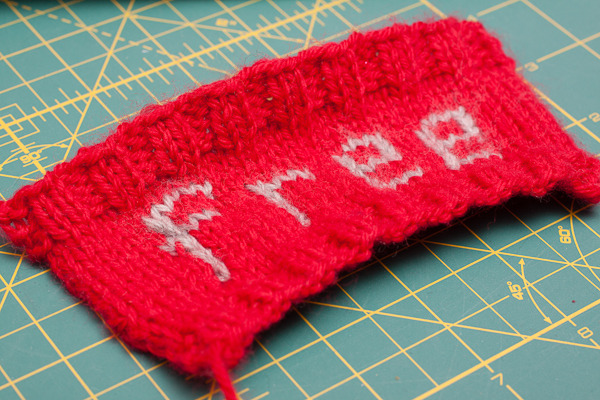
Since WILD and FREE are simple, blocky, four letter words, I didn’t find following the chart to be too tricky. I just carried the contrasting yarn behind, so what was tricky was making sure I didn’t knit too tightly and left enough slack, so that the wristband could still stretch. Sorry, I am a dummy and should have taken a picture of the inside to illustrate this, before I gave these away 🙁
One thing I will add is that these were knit with size 5 circular needles (the smallest I have knit with so far). While these were a bit stressful for me to knit with (both mentally and physically, my hand was cramping by the fourth one), I was thankful they were circular, otherwise my knitting would have totally slipped off, plus it allowed me to stretch my knitting to make sure the contrasting yarn that I carried behind had enough slack.
I followed the pattern for the large wristband and knit 3 rows of rib (k2, p2) and then 3 rows of stockinette stitch. I figured out that I wanted to start the chart 7 stitches in on the next row (that would make it centered). Since I wanted the knit side to be the front, I started knitting the chart from left to right on row 1 on the purl side. That way the word would right read on the knit side. Row 2 was then followed from right to left on the knit side and so on. So I figured out that I needed to follow the chart in an “S” shape.
Once I was done with the chart, I knit three more rows of stockinette and 3 more rows of rib and bound it off (looser for the rest of them).
Lastly, I had to work away the yarn ends and sew up the side seam. I just followed the directions in the book… sort of. Not sure how great they look and I hope they’ll stay together. This might be something I have to work on.
I made four of them total. They each got a set and the girls loved them. Overall, not too bad for my second knitting project and it was great practice!


As a proud recipient of these wrist bands I can honestly say, HOLY COOL!! These are so unique and possibly one of the best most thoughtful gifts I have ever received!! Best accessory to my wild&free lifestyle to date!